Table Of Contents
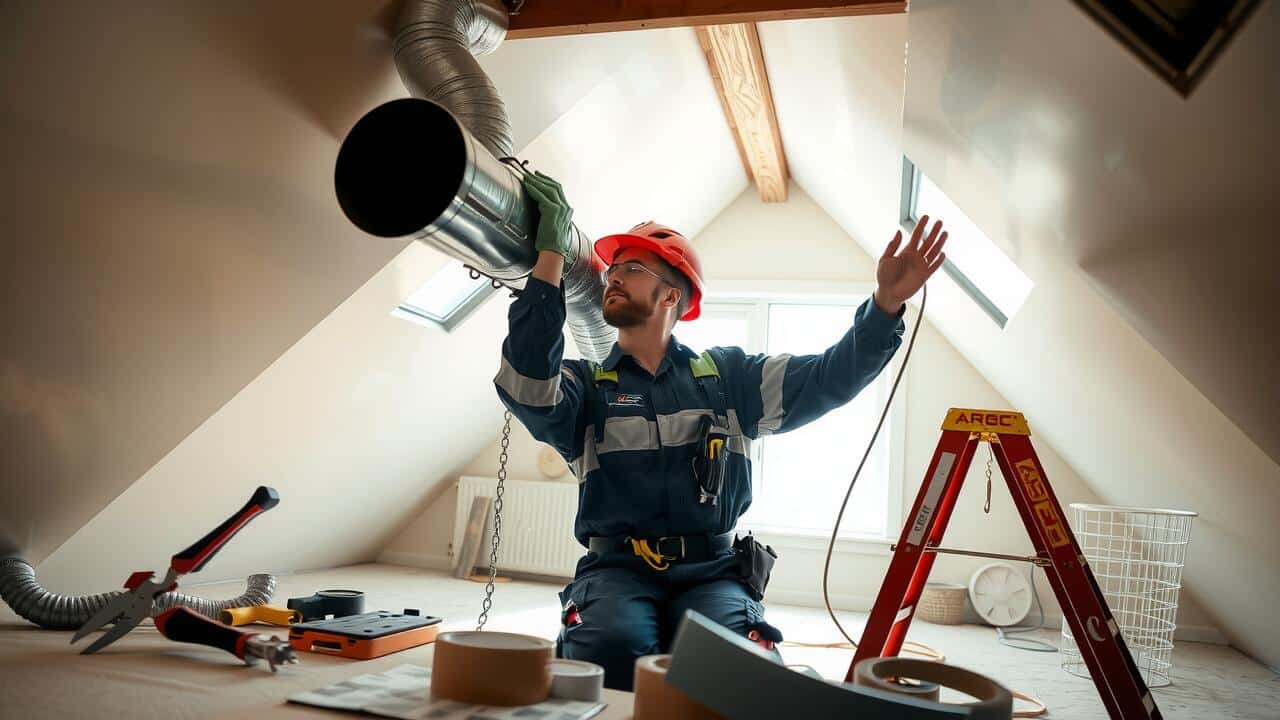
Installing Ductwork
Ductwork installation involves careful planning and measurement to ensure a proper fit within the home’s existing framework. Homeowners should start by assessing the layout of their space and determining the most efficient path for the ducting. Taking accurate measurements of the area will help in selecting the right materials and designing a system that meets heating and cooling needs effectively.
Once the design phase is complete, the next step involves gathering the necessary materials, such as metal or flexible ducting, connectors, and insulation. Homeowners should also familiarize themselves with local building codes and regulations, as these can impact the installation process. Proper tools, including tin snips, duct tape, and sealants, are essential for completing the ductwork installation safely and efficiently.
Techniques for Secure Connections
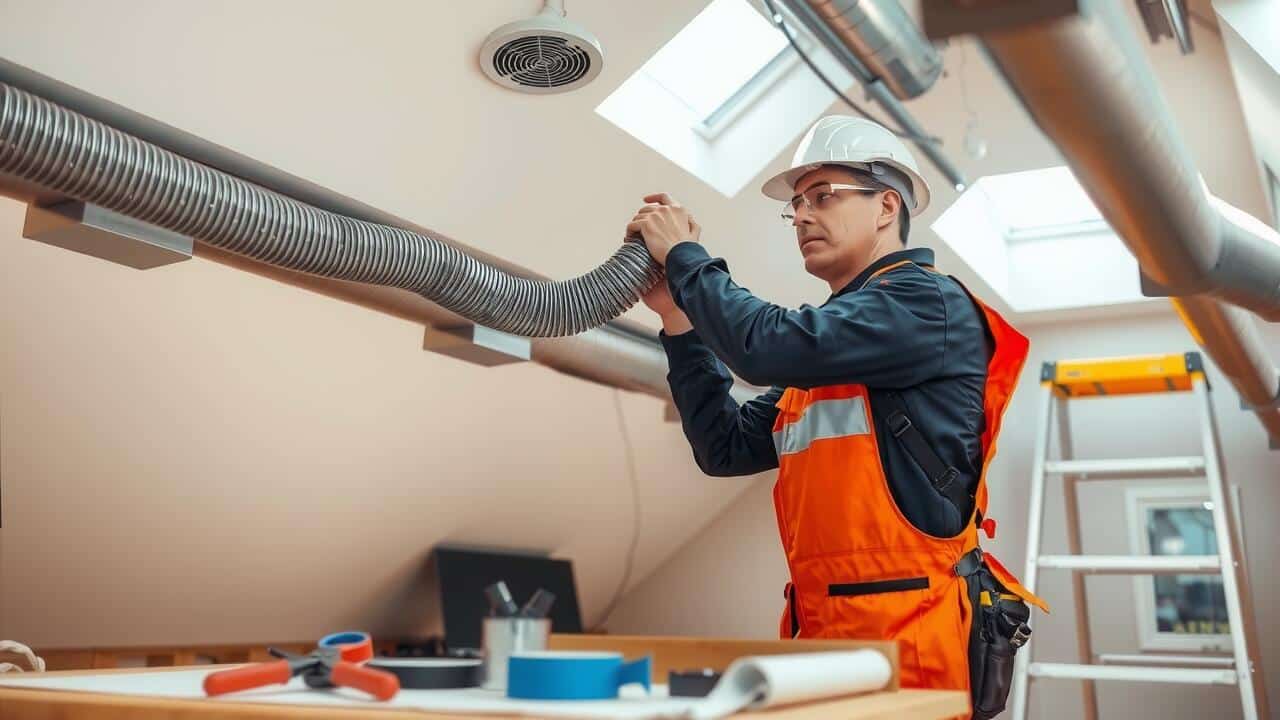
Achieving secure connections during ductwork installation is essential for ensuring efficiency and preventing air leaks. One effective method is to use metal screws or rivets to fasten sections of ducting together. This creates a stable joint that can withstand airflow pressure. Applying HVAC foil tape over the seams adds an extra layer of protection against potential air leakages. This tape is designed to withstand temperature fluctuations, making it ideal for ductwork applications.
In addition to metal fasteners and foil tape, using duct mastic can further enhance the integrity of connections. This thick sealant adheres well to duct materials and creates a strong bond to fill in gaps and joints effectively. When using mastic, ensure the surface is clean and dry before application for the best results. Prioritizing these techniques during ductwork installation can contribute to a more effective and efficient heating and cooling system in the home.
Sealing and Insulating Ductwork
Proper sealing and insulation of ductwork is crucial for maintaining energy efficiency and air quality in a home. During ductwork installation, it is essential to use high-quality materials such as mastic sealant or metal tape on all joints and seams to prevent air leaks. These leaks can lead to significant energy loss and can also impact the overall performance of the HVAC system. Sealing gaps and connections not only enhances efficiency but also minimizes the chances of mold and dust infiltration.
Insulating the ductwork can further improve system performance, especially if the ducts traverse unconditioned spaces like attics or crawl spaces. Insulation helps maintain the desired temperature of the air as it moves through the ducts. Moreover, using insulation with an appropriate R-value will ensure that the ductwork installation meets local energy codes and standards. Properly insulating and sealing ducts contributes to a comfortable living environment and can lower heating and cooling costs over time.
Importance of Proper Sealing Methods
Proper sealing methods are vital in ductwork installation for ensuring efficient airflow throughout a home. Gaps or leaks in the duct system can lead to significant energy loss, causing HVAC systems to work harder and increasing utility bills. A well-sealed duct network minimizes the chances of air escaping, enhancing overall system performance and maintaining desired indoor temperatures.
Using the right sealing materials also plays a crucial role in the longevity of the ductwork. Mastic sealant or metal tape can provide durable, long-lasting results that withstand pressure changes within the ducts. Neglecting proper sealing may lead to moisture problems, mold growth, and reduced indoor air quality. Homeowners need to pay careful attention to these details to ensure their ductwork installation remains effective for years to come.
Testing Your Ductwork System
After completing your ductwork installation, it’s essential to test the system for leaks and ensure optimal airflow. One effective method involves using a smoke pencil or a similar tool to detect any air escaping from the joints or seams. By carefully moving the smoke around the ducts, any drafts or leaks will reveal themselves, allowing for prompt repairs. This testing not only improves the overall efficiency of the system but also enhances indoor air quality.
Another common technique is to perform a pressure test. This method requires blocking off the vents in the system and using a manometer to measure pressure. A significant difference in pressure readings indicates potential leaks within the ducts. Identifying these issues early on can prevent energy loss and costly repairs down the line. Adequate testing reinforces the importance of precise installation practices, thereby ensuring that the ductwork serves its purpose effectively.
Methods to Check for Leaks
Detecting leaks in your ductwork system is essential for ensuring efficiency and comfort in your home. One common method to check for leaks is to conduct a visual inspection. Look for gaps or disconnected sections in the ductwork. Additionally, check for signs of dust or debris accumulation around connections, which may indicate airflow issues. A thorough inspection can help identify areas that require immediate attention during the ductwork installation process.
Another effective technique involves using a smoke pencil or incense stick to visualize air movement. By moving the smoke along the seams and joints of your ductwork, you can easily spot areas where air escapes. If the smoke wavers or is drawn into a seam, it signals a leak that requires sealing. This method can be particularly useful after completing ductwork installation, allowing you to ensure that your system functions optimally before sealing or insulating the ducts.
FAQS
What are the main steps involved in installing ductwork?
The main steps include planning your ductwork layout, measuring and cutting the ducts, assembling the ductwork using secure connections, sealing and insulating the ducts, and testing the system for leaks.
Is it safe for homeowners to install their own ductwork systems?
Yes, homeowners can install their own ductwork systems, but it requires careful planning, knowledge of HVAC principles, and adherence to safety guidelines to ensure effectiveness and safety.
What tools do I need for installing ductwork?
Essential tools include a tape measure, tin snips, duct tape, a screwdriver, a level, and possibly a sheet metal brake to create custom bends.
Why is sealing ductwork important?
Sealing ductwork is crucial as it prevents air leaks, improves energy efficiency, and ensures that the HVAC system operates effectively, delivering conditioned air where it’s needed.
How can I test my ductwork system for leaks?
You can test your ductwork for leaks by conducting a smoke test, using a handheld blower door, or simply inspecting for visible gaps and listening for air escaping from ducts.