Table Of Contents
Inspecting for Debris
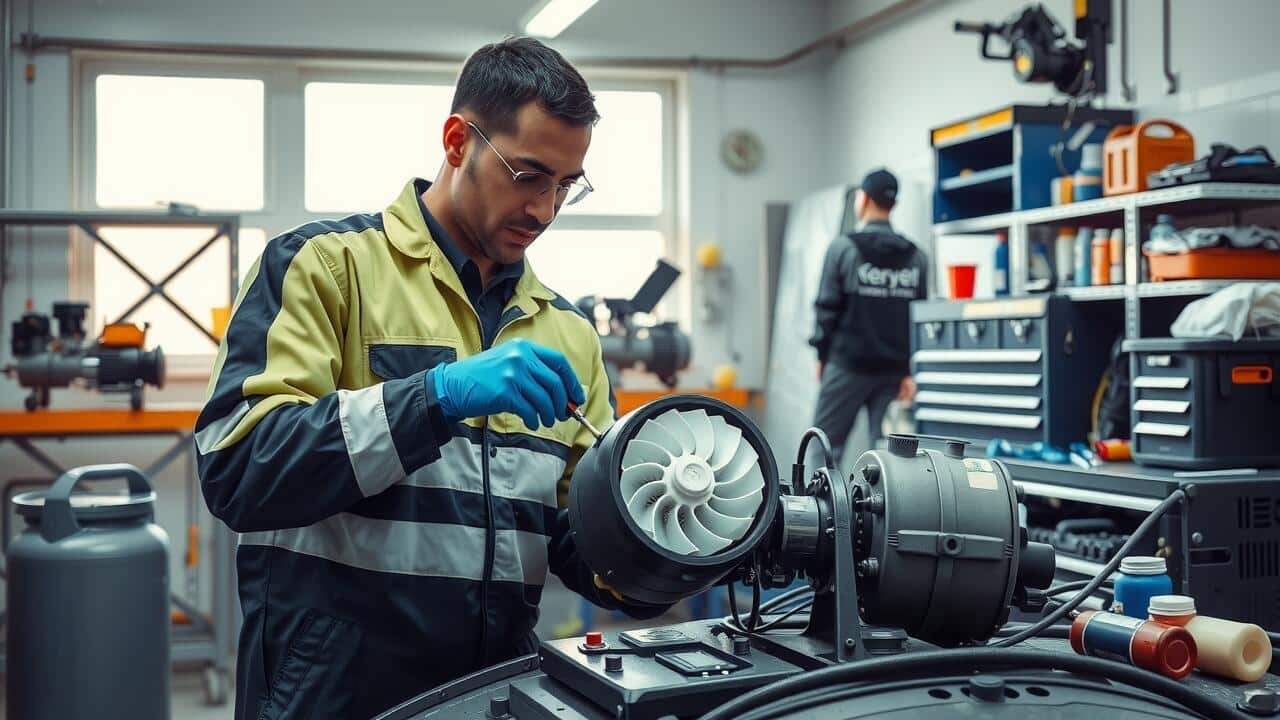
Inspecting the blower motor for debris is an essential first step in the blower motor cleaning process. Start by disconnecting the power supply to ensure safety. Carefully remove the motor cover to access the internal components. Look for any visible dust, dirt, or foreign objects that may hinder the performance. Use a flashlight to illuminate hidden areas. Pay close attention to the fan blades and surrounding areas, as these are common spots where debris accumulates.
During your inspection, also check for signs of wear or damage that may have resulted from debris build-up. Listen for unusual noises when the motor is running, as this can indicate that something is obstructing the fan’s movement. If you notice any significant accumulation of dirt or clogs, it signifies a need for thorough cleaning. Taking the time to inspect before cleaning can make the blower motor cleaning process more efficient and effective.
Signs of Build-Up in the Motor
A buildup of debris in the blower motor can lead to decreased performance and efficiency. Common signs include unusual noises, such as grinding or rattling, that signal something may be obstructing the fan. Additionally, if the airflow feels weaker than usual or if the motor struggles to start, it’s likely that debris is compromising its function. Regular monitoring of these symptoms is essential for maintaining optimal operation.
Visual inspection provides valuable insight into potential issues. If the fan blades appear dirty or there is visible dust accumulation around the motor, these are clear indicators that blower motor cleaning is necessary. Other signs, such as overheating or frequent cycling on and off, can also point to debris buildup. Addressing these issues promptly helps ensure the blower motor continues to operate efficiently.
Cleaning the Blower Motor
Once you have inspected the blower motor and confirmed the presence of debris, it’s time to begin the actual cleaning process. Gather necessary tools such as a vacuum cleaner with a hose attachment, a soft brush, and a can of compressed air. Start by carefully disconnecting the power supply to the unit. This is a crucial step to ensure safety while you work. Use the vacuum cleaner to remove loose dirt and dust from the exterior surfaces of the motor. The soft brush can help dislodge any stubborn particles that may have settled in the tight spots.
Blower Motor Cleaning requires a meticulous approach to ensure thorough removal of all contaminants. After vacuuming, use compressed air to blow out any remaining debris from the inside of the motor. Direct the airflow into the vents and around the motor housing, being careful not to damage any components. This method helps to clear out any dust that might be trapped in the crevices, ensuring optimal performance once the motor is reassembled.
Effective Techniques for Debris Removal
One effective technique for debris removal from a blower motor involves using compressed air. This method allows for the targeted dislodging of dust and dirt without the risk of damaging sensitive components. Aim the nozzle at various angles to ensure that air reaches tricky spots. It is essential to wear safety goggles to protect your eyes from flying particles during the process.
Another useful approach is utilizing a vacuum with a brush attachment. This tool enables you to gently agitate debris while sucking it away simultaneously. Move the brush back and forth over the surfaces of the blower motor, ensuring you reach the crevices. For thoroughness, combine vacuuming with blower motor cleaning to achieve optimal results, making the motor more efficient and prolonging its lifespan.
Reassembling the Unit
After completing the cleaning process, it is essential to carefully reassemble the blower motor. Begin by placing any components that were removed back into their original positions. Pay attention to any clips or screws, ensuring they are securely fastened to avoid any rattling or loose parts during operation. Make sure to refer to the manufacturer’s guidelines to guarantee that everything aligns correctly.
Next, reconnect any electrical connections that were previously disconnected. This step is crucial, as improper connections can lead to malfunction or damage to the unit. Once everything is in place, double-check your work before powering the system back on. A thorough approach to reassembling the unit contributes to the effectiveness of the Blower Motor Cleaning process and ensures optimal performance moving forward.
Proper Steps for Reinstallation
Careful reassembly of the blower motor is essential for ensuring optimal performance. Begin by replacing any screws or fasteners that were removed during the cleaning process. Align all components properly to avoid any obstruction that could hinder the motor’s functionality. Ensure wiring connections are secure and follow any applicable diagrams to maintain the correct assembly order.
After the motor is reassembled, it is essential to conduct a final inspection. Check that all parts are tightly fitted and there are no loose components. Before powering on the system, ensure that the blower motor cleaning is complete. This will help prevent any potential damage or further debris accumulation in the future. Once everything is checked, reattach the blower motor to its housing, ensuring a snug fit before closing up the unit.
FAQS
What are the signs that my blower motor has debris build-up?
Common signs of debris build-up in a blower motor include unusual noises, reduced airflow, and increased energy consumption. You may also notice a burning smell or overheating components.
What tools do I need to clean a blower motor?
To clean a blower motor, you typically need a screwdriver, vacuum with a brush attachment, soft cloths, and possibly compressed air for hard-to-reach areas. Always refer to the manufacturer’s recommendations for specific tools.
Can I use water to clean the blower motor?
It’s generally not recommended to use water to clean a blower motor, as moisture can damage electrical components. Instead, use a vacuum and dry cloths to remove debris.
How often should I clean my blower motor?
It’s advisable to inspect and clean your blower motor at least once a year, especially before the heating or cooling season. However, if you live in a dusty area or have pets, more frequent cleaning may be necessary.
What should I do if the debris removal doesn’t solve the problem?
If removing debris doesn’t resolve the issue, there may be a larger problem with the blower motor or related components. In this case, it’s best to consult a professional technician for further diagnosis and repair.